One of the first DIY service jobs that needed doing on our Project GTi was an oil and filter change. It's a nice, simple DIY job that doesn't require much in the way of specialist tools or equipment and is a perfect job for the home mechanic to carry out. Check out the video below..
...or if you prefer to take your time, read our step-by-step guide:
What you'll need:
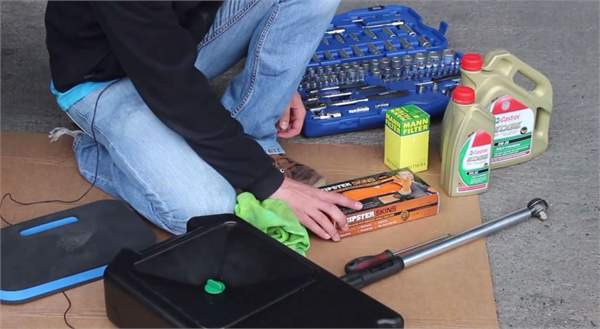
How long will it take?
Well, that really depends on your experience and own ability. The first time might take an hour or so from start to finish but once you've done the job a couple of times you'll probably cut that in half, so it's by no means a big job.
Getting started:
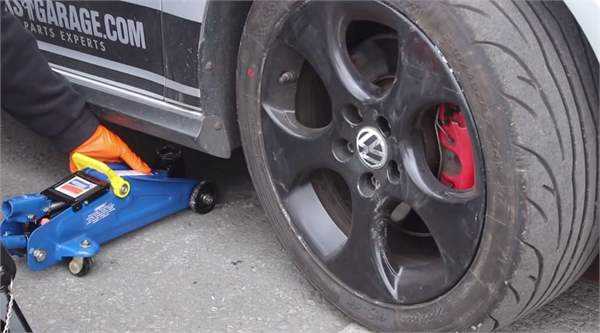
This job is best done with a warm (not red hot) engine, so let the engine run for a few minutes before starting, once the engine oil is warm it will flow out more easily. You need to get underneath the car to access to the sump plug so get it jacked up and supported securely on axle stands at the jacking points.
**Never get underneath a car supported solely by a jack, always use good quality axles stands rated for the weight of the car that you are working**
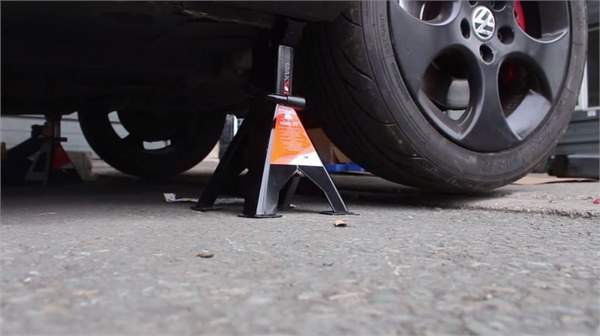
Once the car is securely supported, remove the plastic undertray (if still fitted) secured with T25 Torx screws. Get your oil drain pan ready, remove the oil filler cap at the top of the engine, then locate the sump plug at the back of the sump and remove with a 19mm socket. The oil will flow out very quickly at first and it's extremely likely that you'll spill a bit so it's a good idea to have a large piece of cardboard or large sheet down to protect the floor.
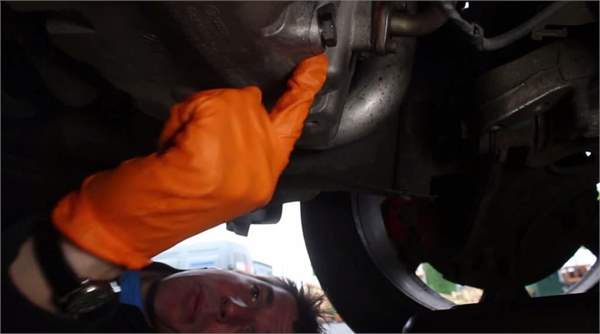
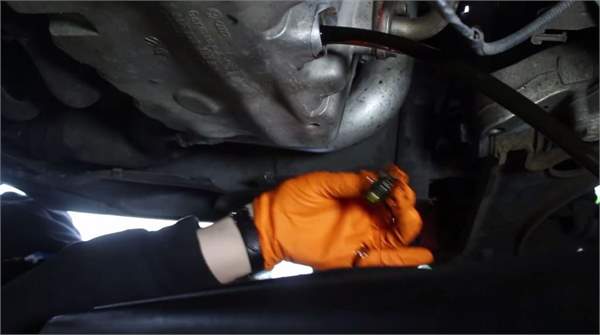
When the oil is completely drained from the sump, fit the new sump plug or washer (if you have one) and re-torque. There were 2 different size sump plugs that were fitted to these engines. M14 plugs should be torqued to 30Nm and M24 plugs should be torqued to 50Nm. Be extremely careful not to over-tighten the sump plug as it's very easy to crack the aluminium sump.
Now you can move on to the oil filter housing. There will still be some oil in it which you need to drain, so get your drain pan ready again. The filter housing is at the front of the engine, just behind the radiator. Access is from underneath the car.
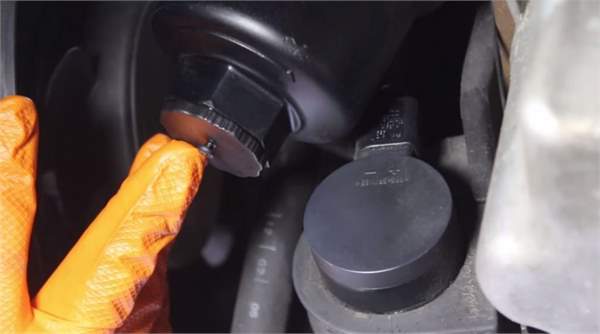
Remove the dust cover from the bottom of the filter housing, this should just unscrew by hand. With the dust cover removed you'll see the orange one-way drain valve.
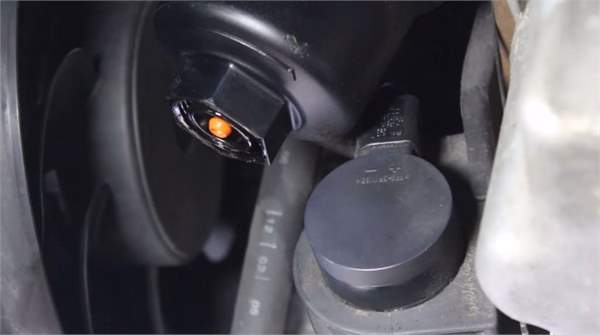
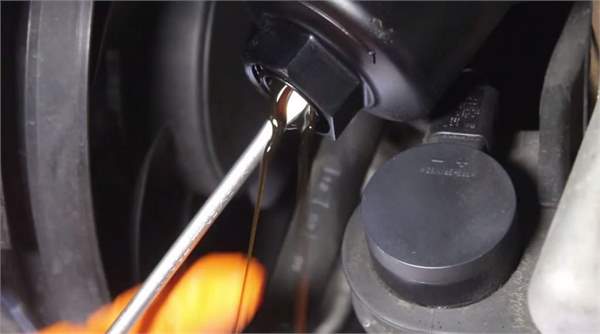
There is a special VW tool you can buy which makes draining the oil from the one-way valve slightly less messy but it's not necessary at all. The valve is spring loaded and you simply push it upwards with a screw driver to break the seal and drain the oil. Take care not slip and damage the rubber O ring on the one-way valve or it won't seal again properly.
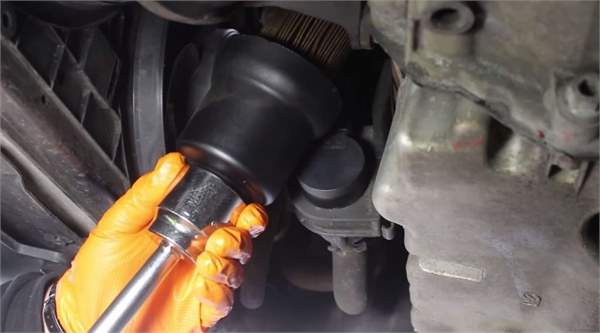
Once the oil is drained use a 36mm socket and long extension to unscrew the filter housing. The filter will come away with the housing. The filter just 'snaps' into the housing and to remove it just takes a little bit of lateral force.
With the filter removed, give the housing a good clean and carefully re-seat the drain valve.
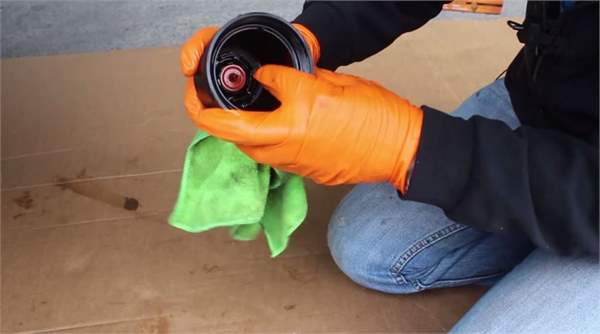
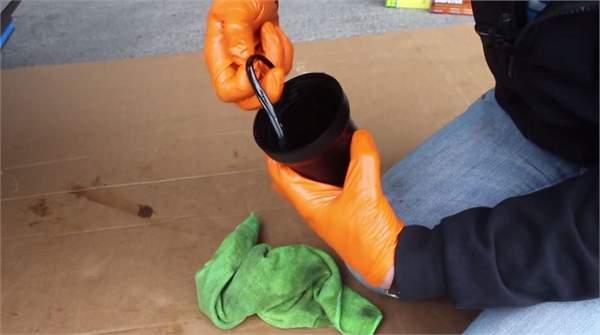
Remove the old O ring from the housing, there should be a small 'tab' moulded into it which you can get a pair of long nosed pliers on to if you can't remove it by hand.
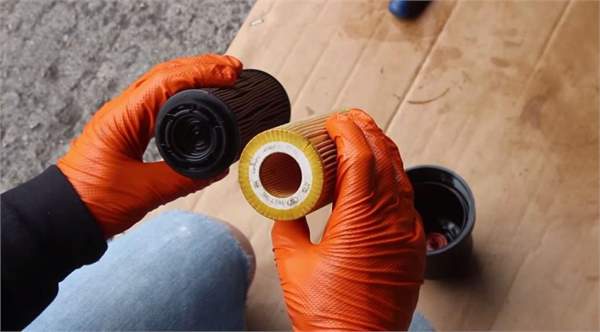
With the new and old filters side by side in the picture below you can see they look quite different and at first glance you'd think the new filter was the wrong part but on this particular engine you have to remove and re-use the plastic centre section from the old filter.
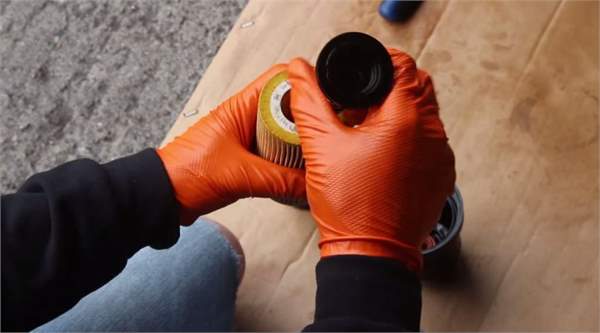
The picture below (sorry this is a terrible photo!) shows the centre section which has been removed from the old filter and is being inserted into the new filter. It's an interference fit and just pushes into position.
With the new filter you'll get a new O ring. Take a drop of clean oil and lubricate the O ring before fitting (with the 'tab' up) to ensure a good seal
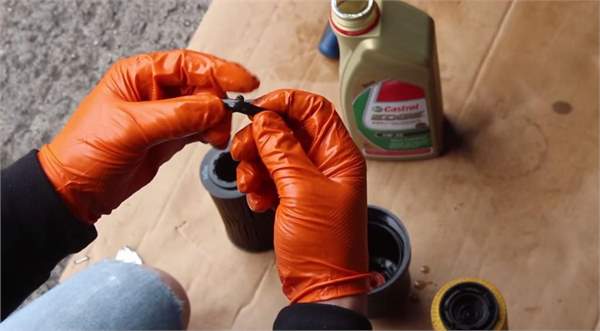
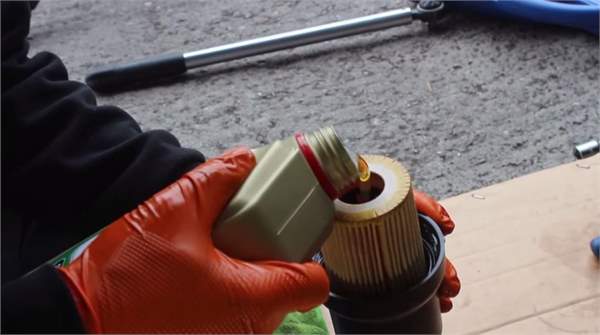
Snap the new filter into the housing and top up with clean engine oil. Only fill the housing to about half/three quarters full as you have to tilt the housing at an angle to re-fit it so if you over fill it, you'll spill oil all over the place!
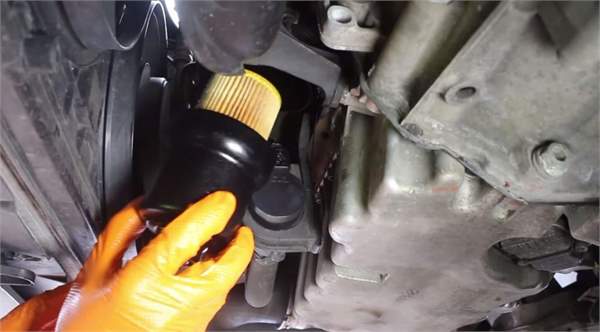
Screw the filter and housing back on to the engine by hand and then re-torque to 25Nm
Take the car down off the axle stands, you want it completely level when you're filling the engine with oil so that you can get an accurate reading on the dipstick.
Double check you've replaced the sump plug then top up the oil, taking car not to overfill. The engine takes 4.6 litres.
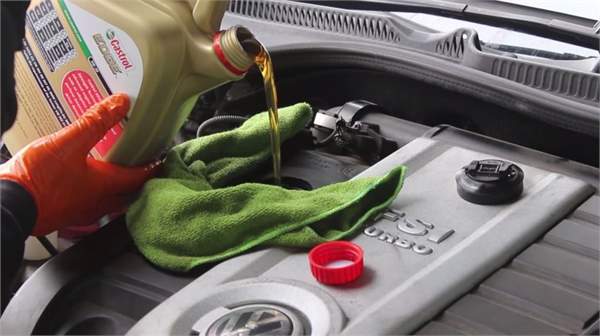
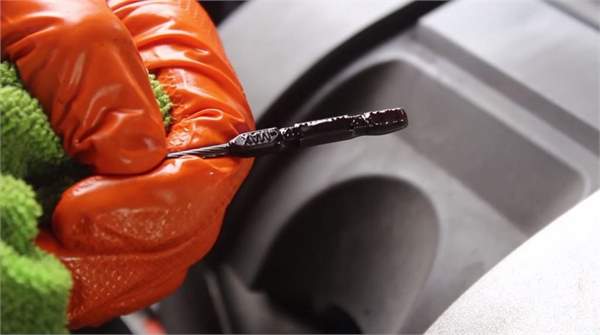
Check the level on the dipstick. Once you have it near the full mark, replace the oil filler cap, clear out all your tools from the engine bay and start up the engine. Let it run for a minute or two so that the oil can fully circulate round the engine. Turn it off then leave it for 5 minutes to let the oil fully drain back to the sump then re-check the oil level on the dipstick again. Top up if necessary
 More Project GTi Articles...