The arrival of the MGF kind of coincided with the arrival of baby no' 3 into the King household, so what with working full time and this being my own personal project rather than a MicksGarage project meant that progress has been rather slow and sporadic, however, progress has been made and that's what counts!
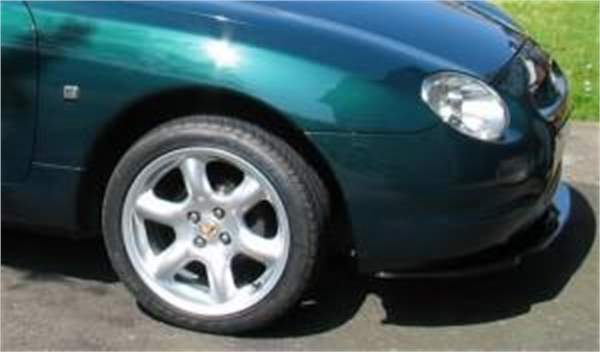
Standard MGF ride height
After a bit of research a rough plan has been put in place for the car. What quickly became apparent was that despite the car costing virtually nothing, actually getting the thing running and driving was going to take a huge amount of time, a fair bit of effort and a reasonable amount of money. The hydragas suspension was causing the most headaches. To get the car lowered suitable for track use (and so it would look decent) was going be a massive pain in the arse. Each of the hydragas units would have to be removed and the suspension knuckles shortened - not an easy job, made tougher by being welded in place by copious amounts of corrosion, but on top of that, they're such
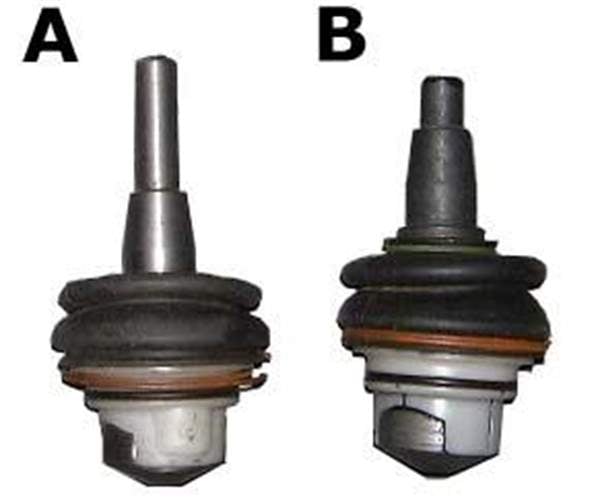
Shortened Suspension knuckle
an unknown entity and could well be completely banjaxed. Plus I'd have to find someone who could actually re-gas them. So the decision was made to upgrade the entire front & rear subframe assemblies to the newer MG TF units which use a conventional coil spring and damper - hopefully not as much work as it might sound, especially as I already have the entire rear subframe, engine & box out of the car.
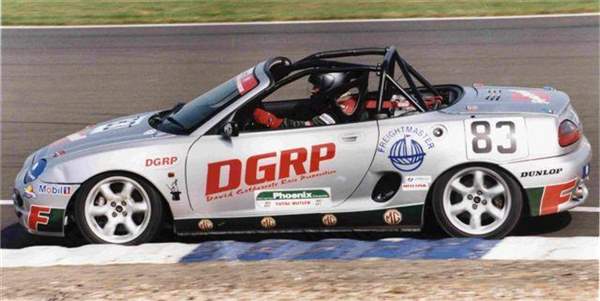
MGF Cup Car with a more acceptable ride height!
All that can wait though because the first job is to get the engine sorted.
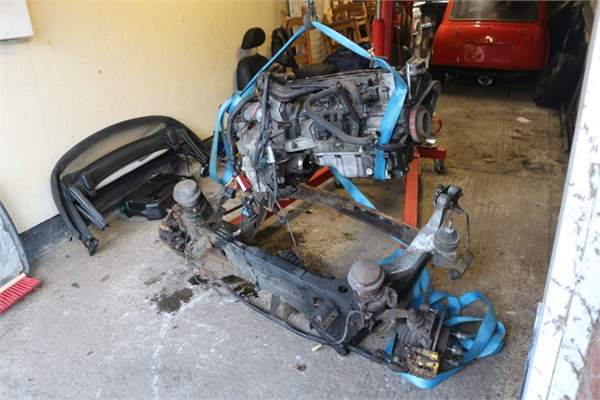
While I still had the crane, getting the engine separated from the subframe was relatively easy, although it took a lot more jiggling and prying to get it out than I was expecting. Eventually it was free and I set about splitting the engine and gearbox - there's no point going to all this hassle and not replacing the clutch.
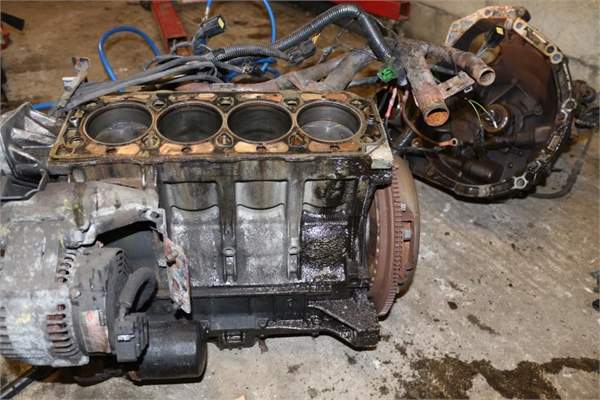
Thankfully the clutch was well worn so it was worth that extra little bit of effort. I damaged one of the pressed steel plates that cover the flywheel whilst removing it but a quick shout out on Facebook quickly produced a 2nd hand replacement.
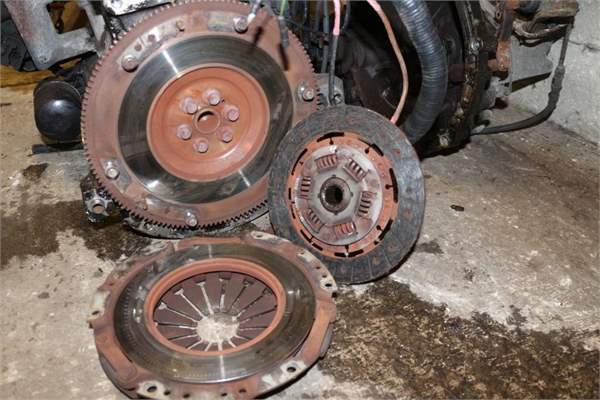
Not much life left in this clutch
Next it was a case of removing various engine ancillaries, cleaning them, painting them and putting them back on. The Starter, alternator, heat shields, coolant pipes, flywheel cover plates and various other bits and bobs got wire brushed, sanded and cleaned down.
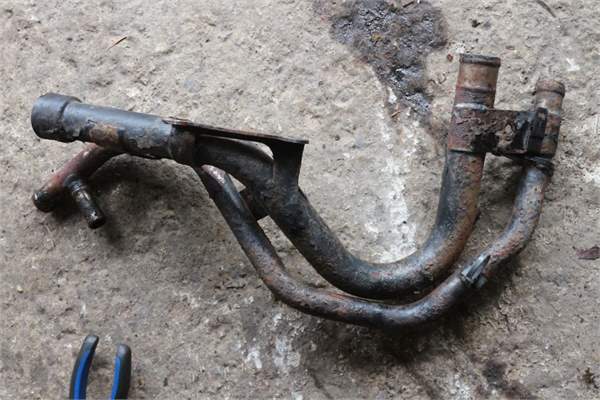
Coolant pipes renowned for corroding and leaking on the MGF
The engine block got a good scrub with petrol and a stiff brush (petrol makes a great de-greaser and it's much cheaper than buying dedicated de-greasing stuff) so it's all starting to look a bit more respectable and will be a lot nicer to work on now that it's not covered in oily grime.
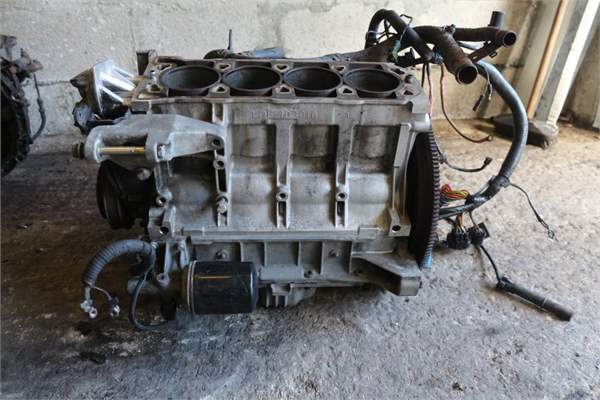
Quick de-grease and clean up
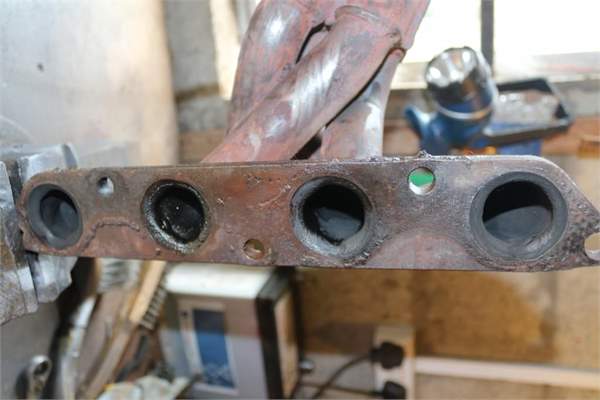
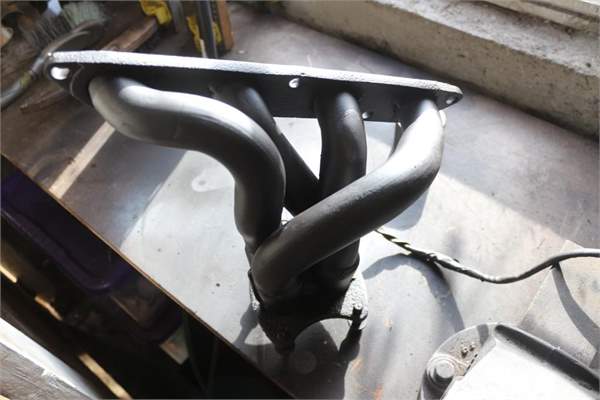
The standard exhaust manifold is not a bad looking thing and has pretty equal length tubular headers, the welding leaves a bit to be desired though and I decided to have a go at grinding some of the excess globs of weld away which should improve the flow of exhaust gasses a little bit. It was then treated to a few coats of high temperature paint.
I put on a new oil filter and then set about fitting a new LUK clutch kit. The wide end on one of the extensions in my socket set turned out to be exactly the right diameter for the centre of the clutch disc so I used that to align the disc while I bolted on the pressure plate.
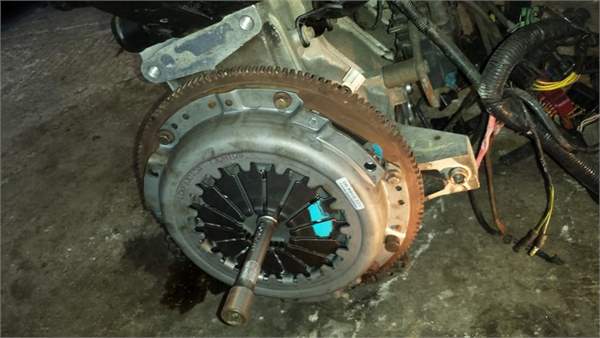
I tightened the bolts very carefully making sure not to rotate the crank as I understand from talking to a few K Series experts doing so can easily dislodge the cylinder liners when the head isn't on. With the the clutch tightened up the gearbox slid on with surprising ease.
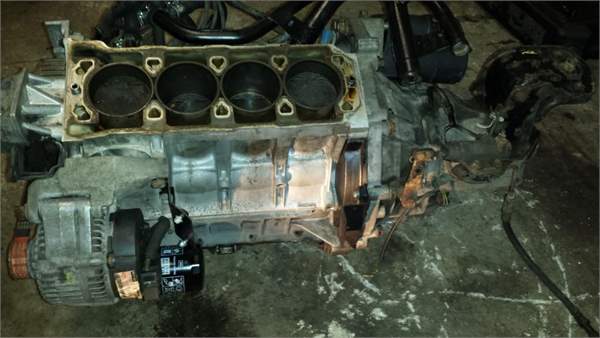
So that brings us up to date. The next job is to get the head skimmed, pressure tested for cracks, fit new valve stem oil seals and the re-seat the valves so i'll be talking to a few local engineering firms to see who can do the job at the right price!